
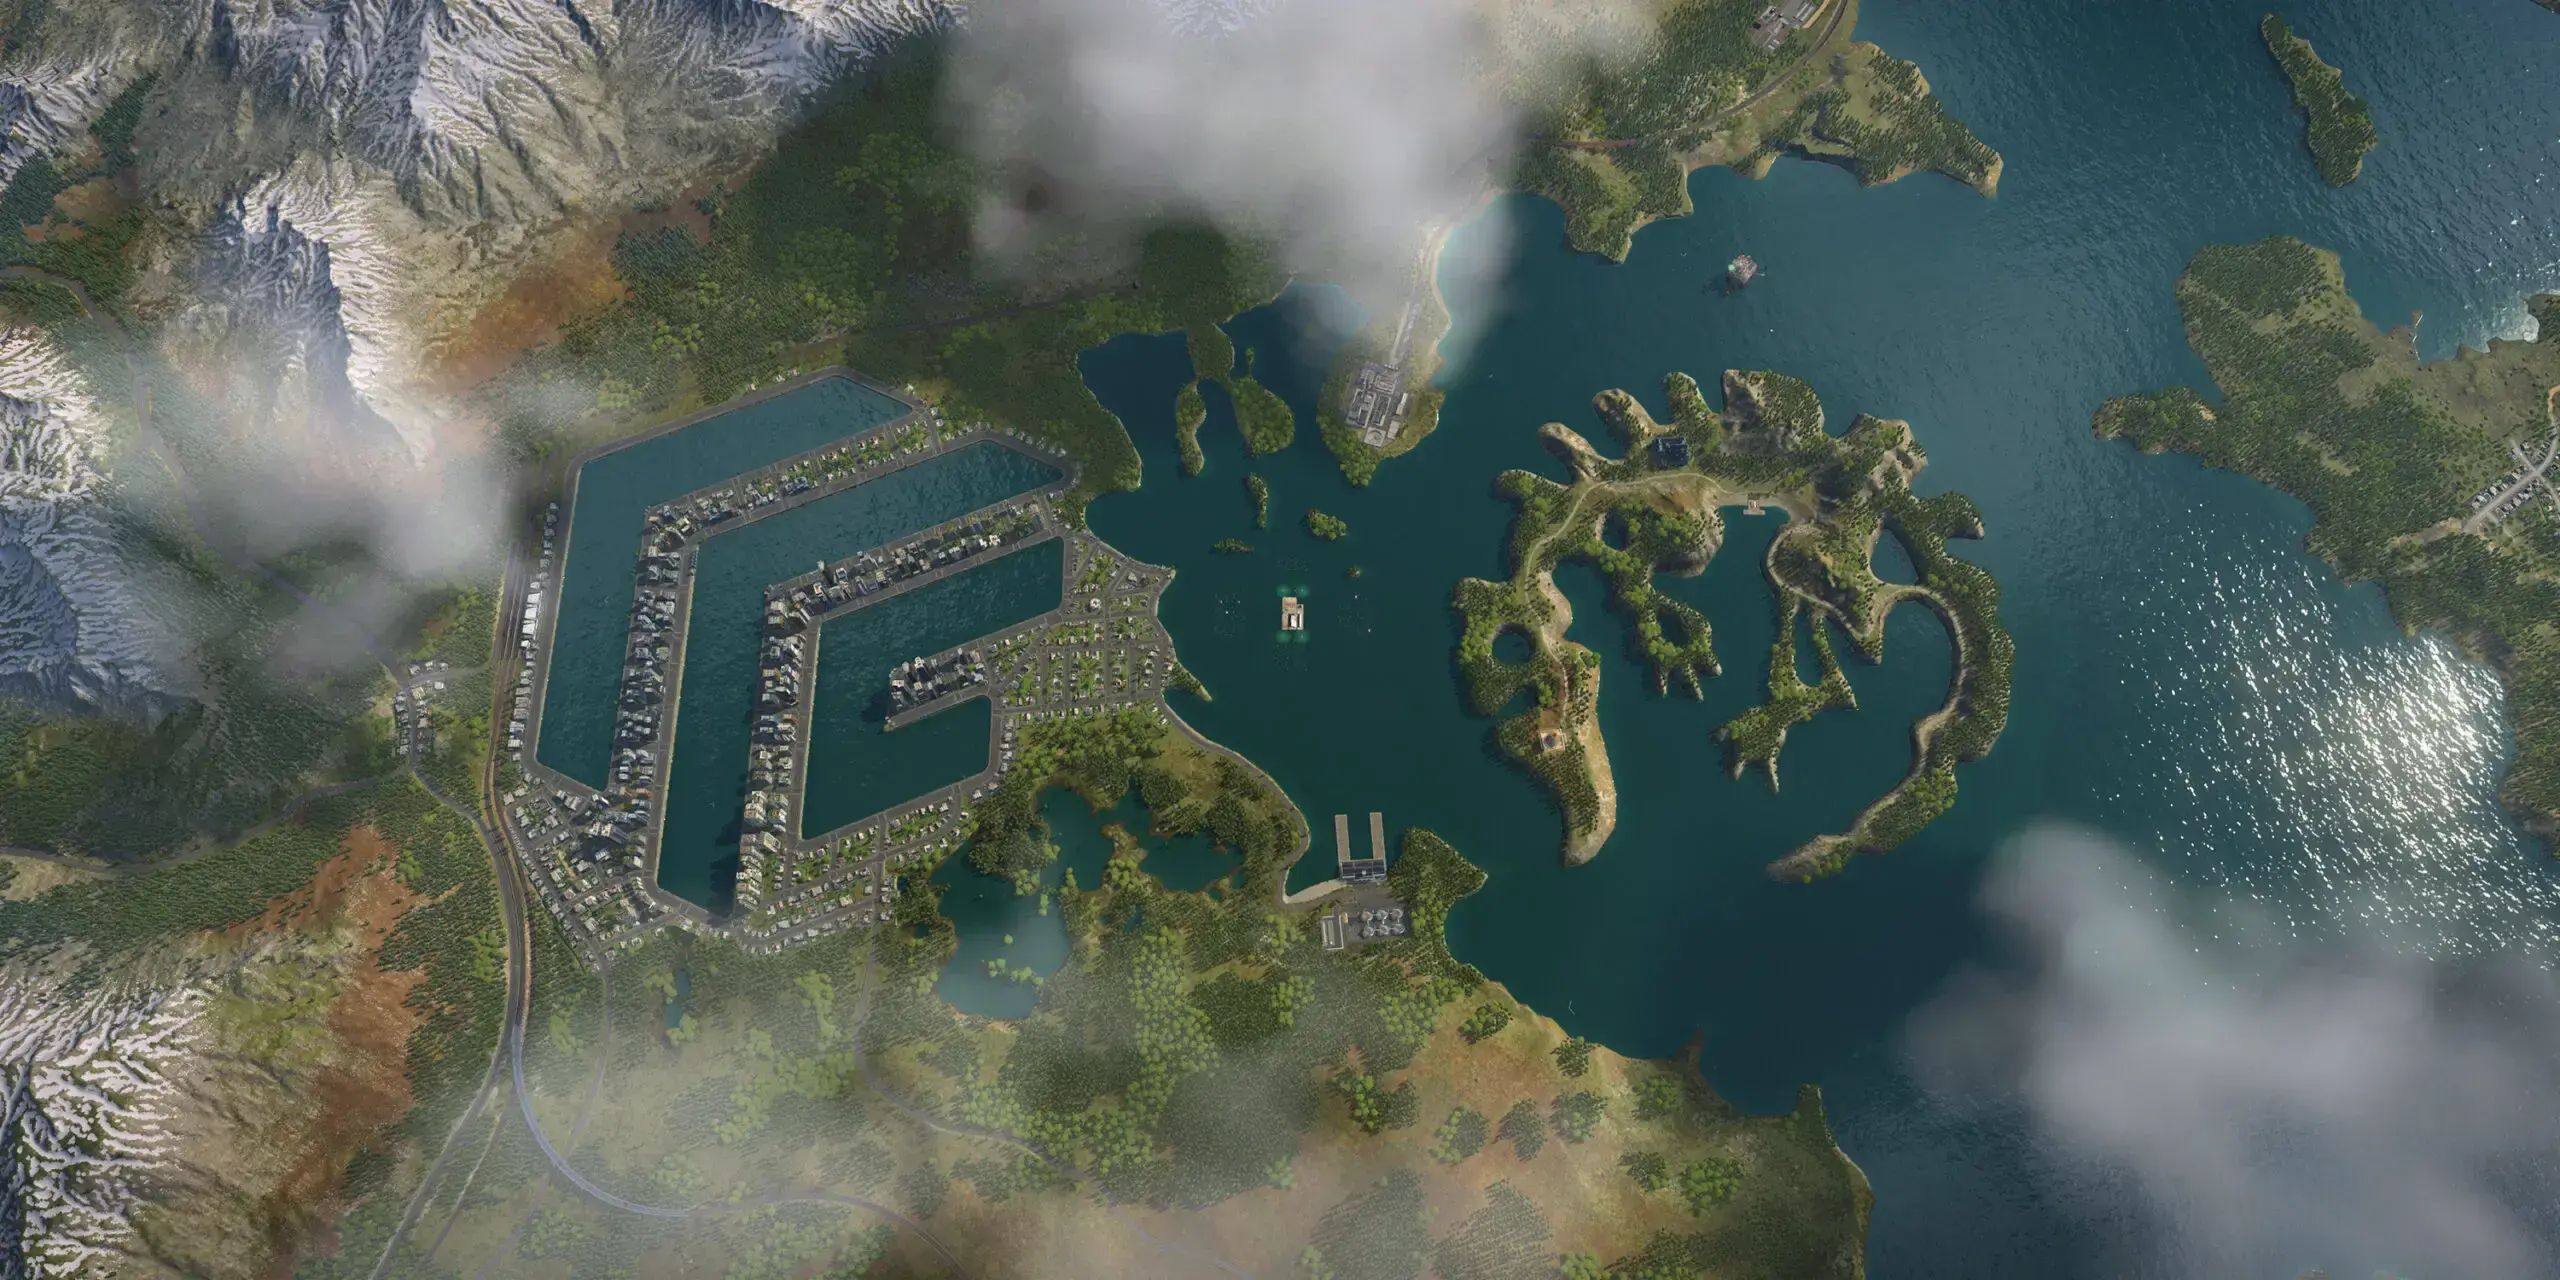
Where to start with Transport Fever 3
Transport Fever 3 gives you several ways to approach its transport simulation. If you are new to the series, begin with the Beginner Guide, then use the topic pages below when you want to understand a specific system. The official support FAQ says the opening part of Campaign also works as the game’s tutorial, making it a structured way to encounter the core mechanics.
This collection is a fan-made reference, not an official manual or a record of personal benchmark testing. It translates published feature descriptions into practical questions a player can use: what demand does this route serve, how does cargo reach its destination, which costs should I inspect, and how do the map and settings change the decision?
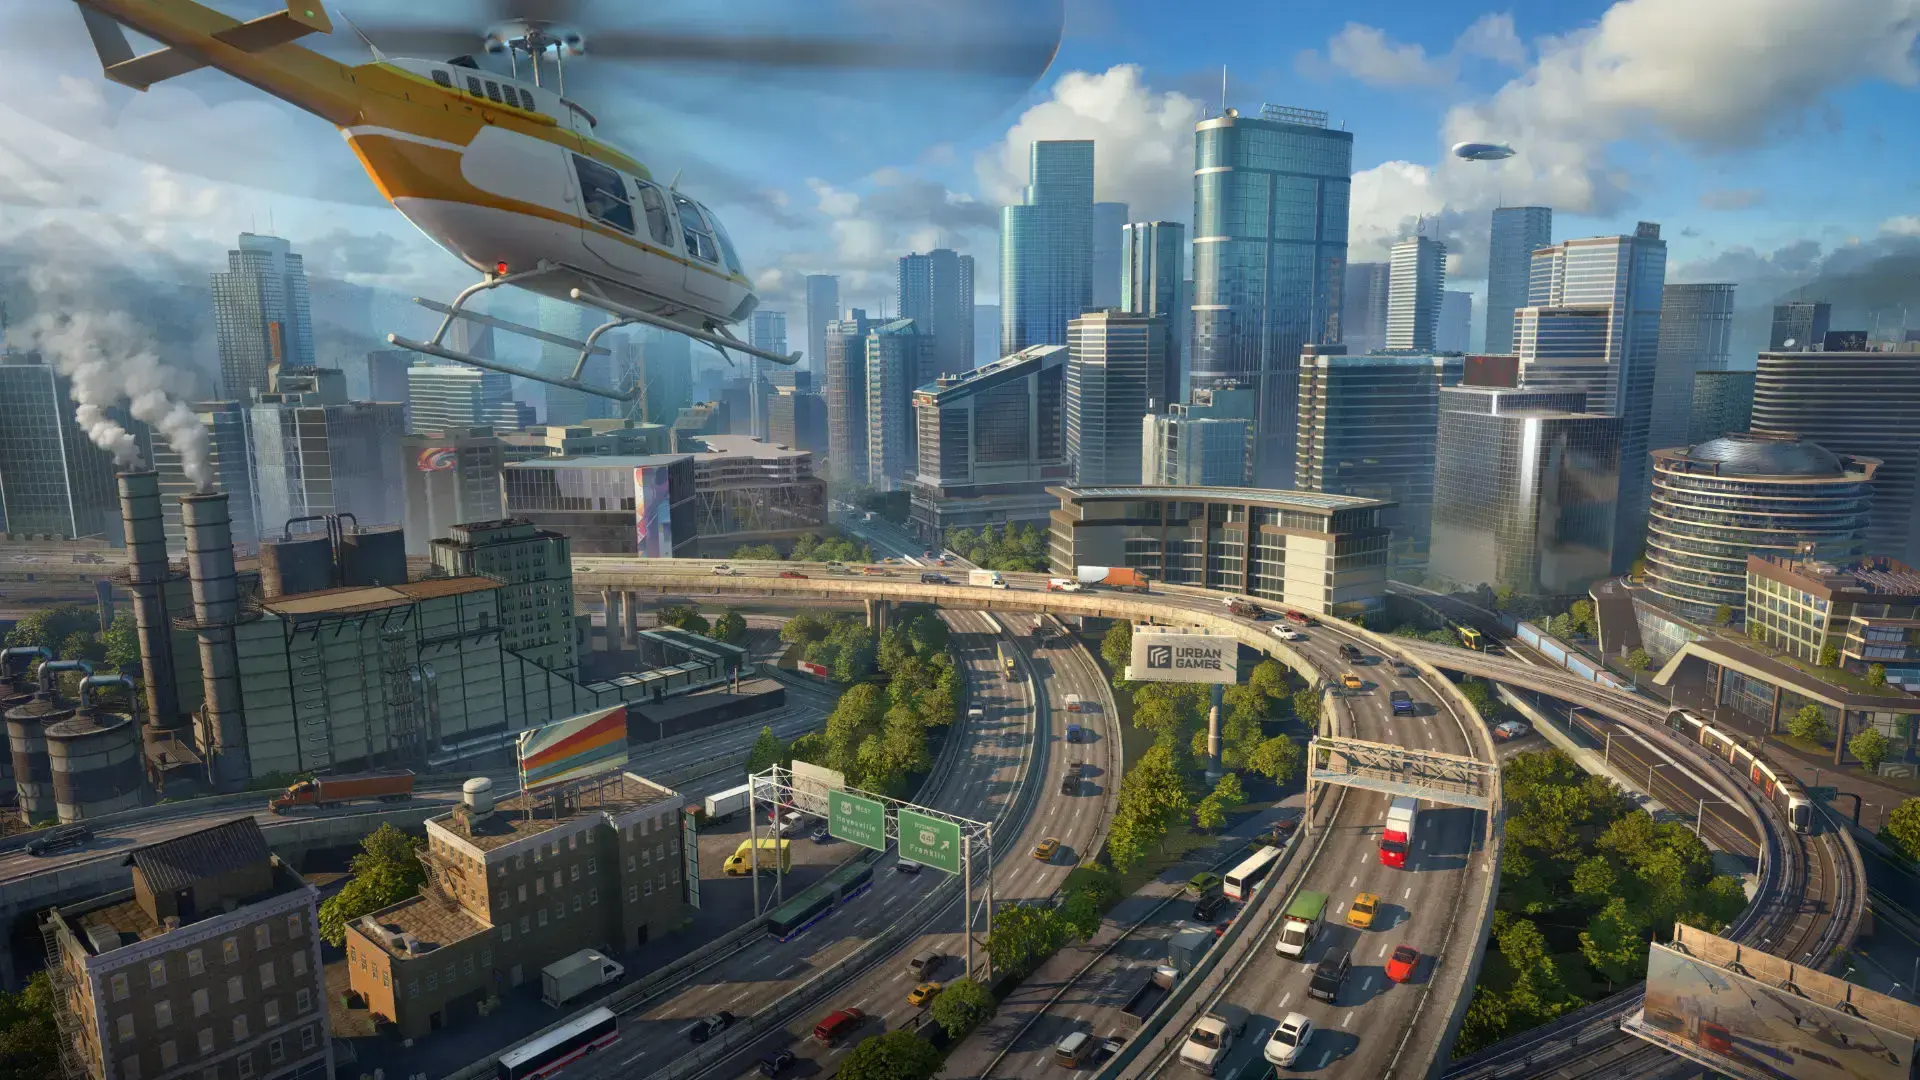
Start with the Beginner Guide
Choose a mode, plan one passenger or cargo service, diagnose early issues, and expand only after you can read the result.
Read guide →Learn the gameplay systems
Transport Fever 3 combines passengers, freight, vehicles, infrastructure, towns, and industries. Official descriptions also mention adjustable difficulty, Campaign, Tycoon, Sandbox, dynamic traffic, changing demand, and multiple climate zones. The systems interact: a connection changes access, service affects demand, and growth can introduce new transport needs. For that reason, a specific guide should help you diagnose one decision rather than claim that the same layout always works.
The gameplay overview is the broadest introduction. It explains how modes, routes, freight chains, changing towns, and vehicle choices fit into the main simulation. Read it when you want a map of the game’s systems before moving into a narrower management or map question.

Explore Transport Fever 3 gameplay
See how Campaign, Tycoon, and Sandbox relate to passenger routes, freight, towns, industries, and network expansion.
Read guide →Manage a transport company
Tycoon mode makes the economic layer central. The official store description says deliveries earn money while vehicles add costs, and Urban Games’ Tycoon material describes evolving town demand, fleet maintenance, traffic, noise, pollution, and company progression. A strong management decision begins by naming the job a route must do, then checking whether the result justifies the infrastructure and operation it requires.
Use the Tycoon guide for decisions about income, operating costs, contracts, company progress, and adjustable difficulty. It is not a fixed profit formula; exact results depend on the map, settings, and live information in your save.
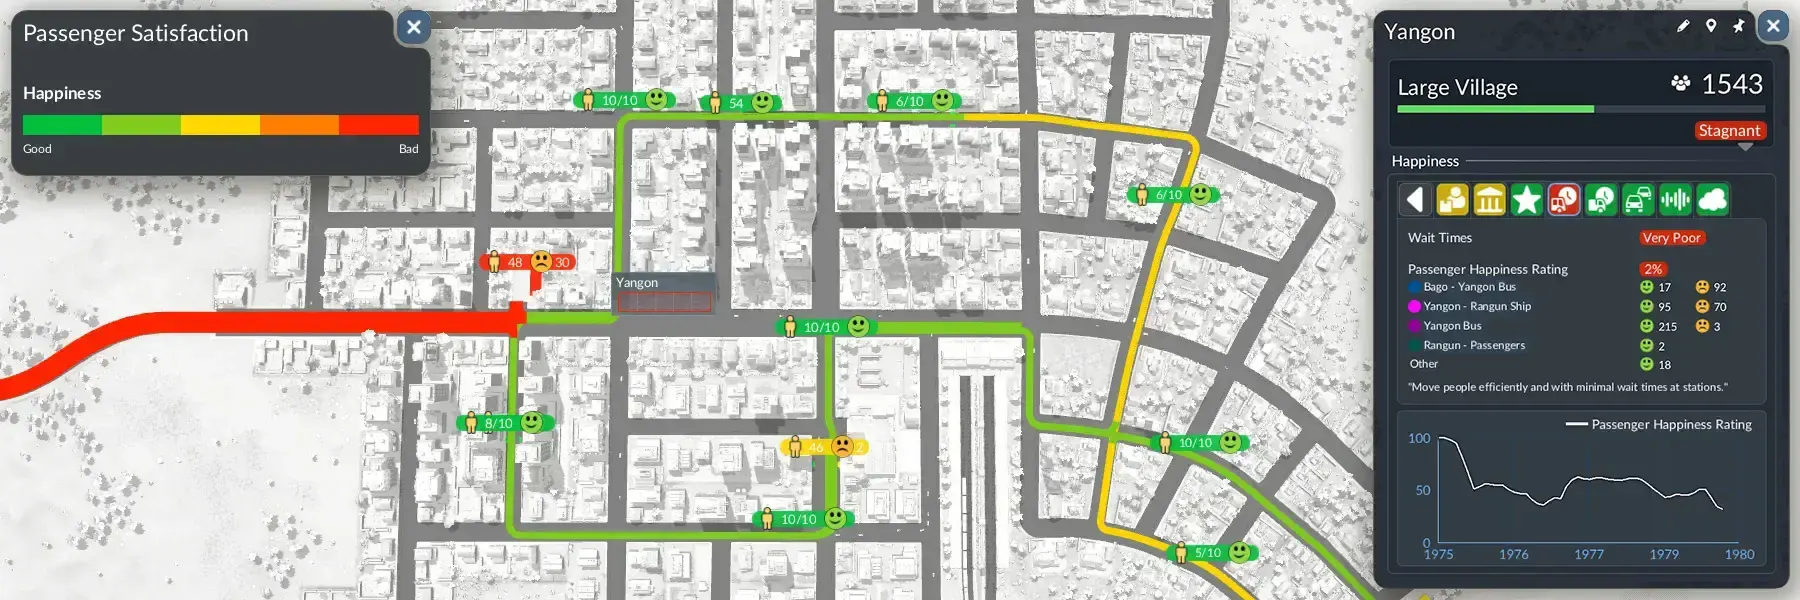
Understand Tycoon mode
Follow the relationship between deliveries, service costs, town needs, and the challenge settings you choose.
Read guide →Choose and plan a map
Official feature descriptions confirm randomly generated maps with distinct biomes and an in-game map editor. They do not publish a universal map dimension in the sources checked for this guide. The map-size article therefore focuses on practical selection: inspect settlement and industry placement, terrain, climate, and the kind of network you want to build instead of relying on an unsupported number.
If you are starting a new save, decide whether you want a focused first network or room for a more ambitious regional plan. Check the choices shown in your installed version, and remember that a larger-looking map is only useful if its geography supports the network you intend to build.

Choose a map that fits your network
Review confirmed map tools and use a terrain, settlement, and expansion checklist without relying on invented dimensions.
Read guide →How to use these guides
Read the answer for the question you actually have, then follow the source links when a fact is important or may have changed. Official game pages are the authority for listed features; the live game and store listings are the authority for current values, availability, and settings. Our guides do not present an unverified route, price, computer benchmark, map dimension, or mod as official fact.
For a practical first session, start at Beginner Guide. For broader site topics outside guides, visit the All Game Info, vehicle reference, or mods reference. The official sources for current features are the Transport Fever 3 website and Steam listing.
A useful reading order
New players can read the Beginner Guide first, then the Gameplay overview to connect the mode and network descriptions. If managing the company is your main interest, move to Tycoon mode and focus on the relationship between demand, operating costs, and bottlenecks. If you are planning a new world, read Map Size before settling into a long network plan. This order moves from a practical first session to broader system context and then to narrower decisions.
Experienced players can skip directly to the page that addresses their current question. The goal is not to prescribe a fixed build order or claim that every issue has a single answer. It is to help identify what information matters, point to the confirmed systems, and make the next in-game test more deliberate.
Beyond the guide collection
Some site topics are reference pages rather than long-form guides. The vehicle reference organizes confirmed transport categories and clarifies where official roster counts currently differ. The mods reference explains the in-game mod browser and compatibility limits. The All Game Info covers release, hardware, price, platform, and series comparison questions; the Editions hub compares the three purchase bundles. These pages are linked here because they answer adjacent decisions, but each retains its own scope and source trail.