
What is confirmed about Transport Fever 3 map size?
Official descriptions confirm randomly generated maps with distinct biomes and a fully featured in-game map editor. They do not give a single fixed map dimension or a verified list of map-size presets in the materials checked for this guide. That means specific claims such as a universal tile count, kilometers per side, or “largest ever” scale should not be treated as confirmed unless the current in-game setup or a newer official source states them.
The practical answer is to choose from the options shown in your game version and plan around the geography and settlement layout on that map. A map’s usefulness is not only a number: town spacing, terrain, shorelines, industry placement, climate, and the kind of network you want all affect how much buildable space you can use.
Choose a map for your goal
Before selecting a map, decide what kind of save you want to play. A compact, focused network can be easier to understand and manage, especially while learning freight transfers or passenger connections. A more sprawling plan may suit players who want to connect distant regions, build several modes, or take on longer logistics chains. These are planning trade-offs, not claims about specific presets or an official optimal size.
Look at the map preview and setup choices available in your current build. Ask yourself:
- Are the towns close enough for the services you want to run, or do you want longer intercity links?
- Do rivers, mountains, coastlines, or other terrain features create interesting corridors or obstacles?
- Are industries and destinations positioned to support the kind of cargo network you want to build?
- Will the map leave room for later expansion, stations, yards, airports, and road approaches?
- Does the selected world suit your preferred climate and scenery?
If you are unsure, choose a map that gives you one clear first connection and room to learn. You can build a reliable small network first, then judge whether a future save should be more ambitious.
How geography shapes a transport network
Terrain turns abstract distance into construction decisions. A river may make a bridge or water route useful; hills can change the path and cost of a railway; a coastal settlement may create a different connection opportunity from an inland town. The game advertises roads, rail, sea, and air connections, as well as terrain-sculpting tools. The best route depends on the actual map rather than a universal “shortest line” rule.
Settlement and industry placement matter just as much. A large area with few useful destinations may offer less immediate network work than a smaller map with several towns and production sites that fit together. When considering a route, trace the full job: origin, destination, intermediate transfers, and the infrastructure each handoff requires.
For early planning, resist filling every empty corridor. Leave usable space around stations and junctions, and keep room for urban access and freight facilities. The official feature overview mentions dynamic towns and traffic management; a growing place can need revisions even when the map itself has not changed.
Random maps and climate zones
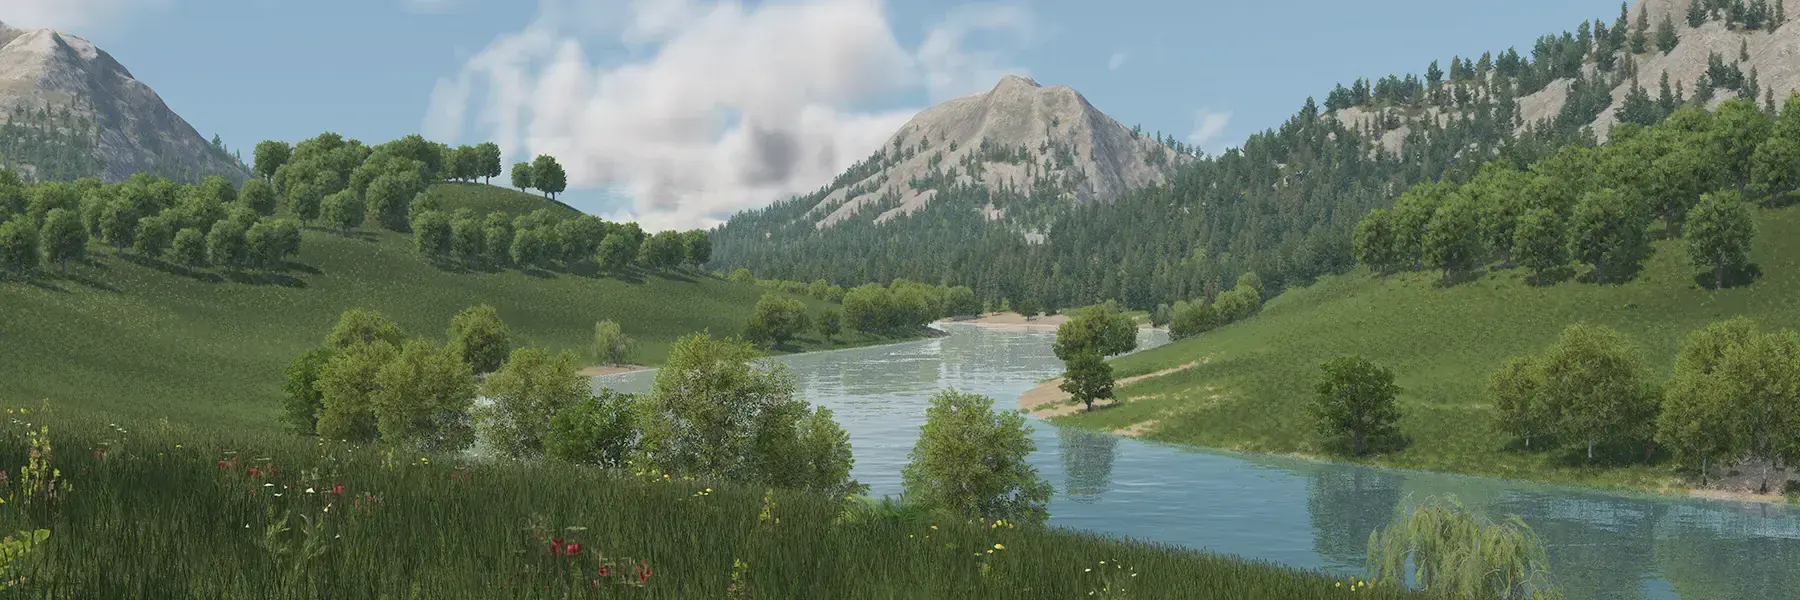
Transport Fever 3 describes randomly generated maps with distinct biomes and four climate zones. Official examples include temperate valleys, subarctic swamps, desert plains, and tropical islands. Those settings provide variety, while geography changes the context in which you solve transportation problems.
Random generation can make a map feel different from a hand-designed layout, but it does not remove the need to inspect the actual result. Check how towns, industries, terrain, and access routes are placed before settling on a long-term plan. A route that makes sense in one seed may be poorly positioned in another.
Map editor and custom worlds
The official game and Steam feature descriptions list an in-game map editor. Urban Games says players can create maps inspired by real places or from their own ideas, alongside landscaping tools for sculpting terrain, painting ground, and placing vegetation. This makes the editor relevant for both deliberate layout design and visual projects.
The editor is also distinct from ordinary map-size selection: one is a creation tool, while the other is a map setup choice. Do not assume that every editor option has the same limits as generated maps, or that a community-created map is compatible with every game version. For mod availability and compatibility boundaries, see the Transport Fever 3 mods guide.
Map size and performance
Larger simulated worlds can imply more places, routes, and activity to manage, but the official sources used here do not define a simple relationship between a particular map preset and frame rate. It would be misleading to promise that a certain PC specification guarantees a specific map scale or performance result. Use the official system requirements reference for published hardware baselines, then compare actual performance in your own settings and save.
The safest way to choose is to start with the goal, inspect the map options currently available, and choose a scale you can meaningfully use. The gameplay guide explains how network types and demand fit together; the Beginner Guide offers a smaller first-session approach. For the latest feature details, check the official Transport Fever 3 page.
Plan a first network before scaling up
Learn to identify a passenger trip or freight demand, trace the full connection, and expand only after checking the result.
Read guide →