

Quick answer
If you are new to Transport Fever 3, begin with Campaign’s opening tutorial, then build one small service around a clear passenger or cargo need. Expand only after you can identify what is working and what is blocking it. Deliveries, costs, loading, traffic, maintenance, and town satisfaction all matter; there is no single best route for every map.
Choose a mode that matches how you want to learn
Campaign, Tycoon, and Sandbox support different ways to learn the transport systems.
Start with Campaign for structure
The official support FAQ says Campaign’s opening also acts as the tutorial. Choose it for guided objectives, and take time to understand each connection before expanding.
Use Tycoon to learn the business loop
Tycoon focuses on economic trade-offs: deliveries earn money while vehicles and infrastructure cost money. The official Steam overview confirms adjustable difficulty, so choose a challenge that suits your learning pace.
Choose Sandbox when building is the goal
Choose Sandbox to practice building with more freedom. Steam describes adjustable rules, including the option to disable the economy; this removes the financial pressure that Tycoon is designed to teach.
A practical first-session route
Treat the first network as a small experiment. These practical steps are not a fixed mission or guaranteed profit formula.
1. Pick one visible need
Choose one passenger trip or one good a town currently needs. Check the demand and endpoints in your save instead of copying a route from another map.
2. Trace the whole connection before building
Mark the origin, destination, and any transfers. For freight, check each input and handoff: the developer’s cargo blog says goods remain at their origin until collected and can be shipped to destinations within your network.
3. Match the vehicle to the job
Check which cargo a freight vehicle can carry. The developer says universal vehicles are flexible, while specialized vehicles load their supported cargo categories faster. Choose for the job, not just vehicle age or size.
4. Build the minimum useful service
Build only what is needed to test the job. Connect the necessary stops or loading points, then verify that the service reaches them. Roads, rail, water, and air are available, but a first network rarely needs multiple modes.
5. Run it and inspect the result
Check whether passengers use the connection or cargo reaches its destination. Look for loading queues, traffic hotspots, missing transfers, and capacity that no longer matches demand. Adding vehicles to every problem can increase costs without fixing its cause.
6. Change one thing, then compare again
Change one part at a time: check cargo and endpoints before rebuilding track, investigate loading before adding a delivery leg, and compare demand with capacity before expanding. This is a troubleshooting method, not a game rule.

Explore Transport Fever 3 gameplay
See how passenger demand, freight routes, vehicles, and network systems fit together.
Read guide →How to read common early problems
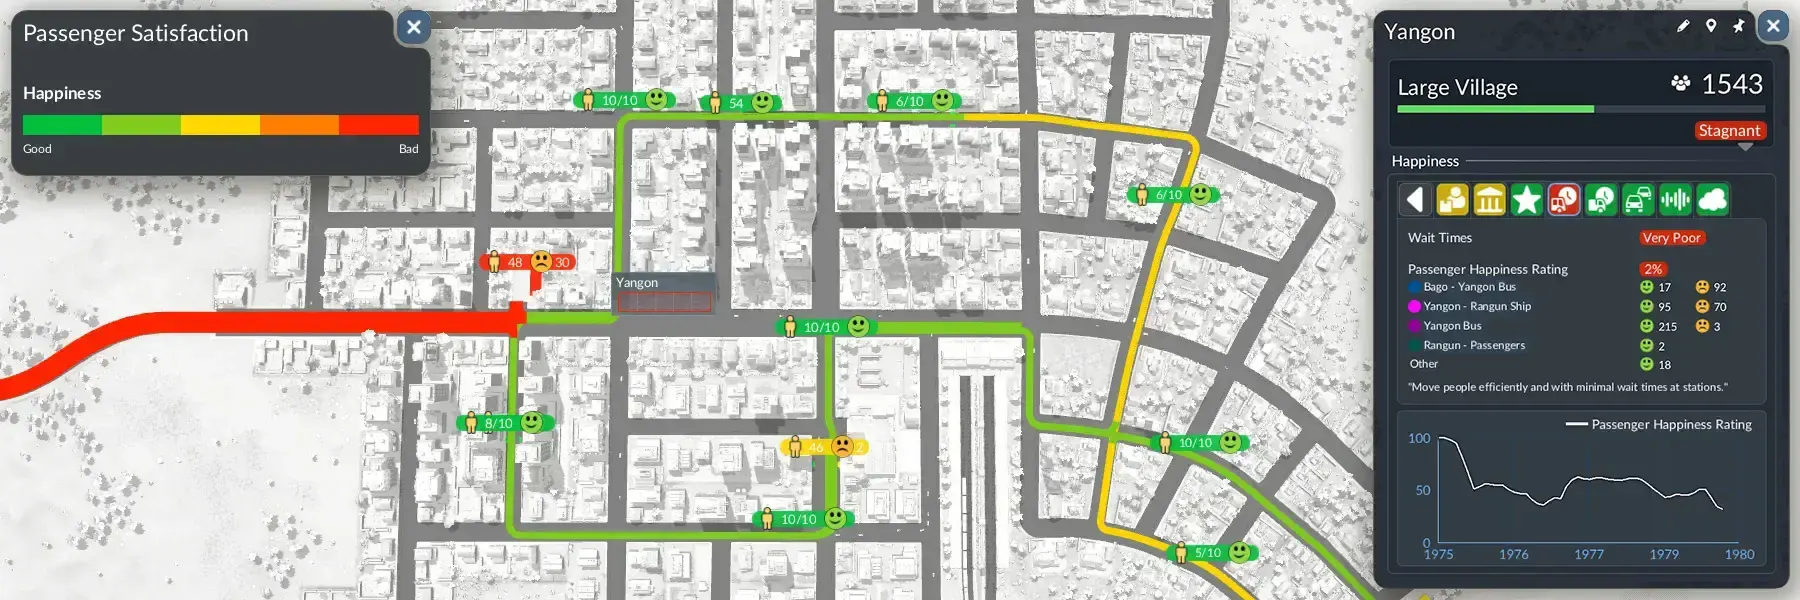
Route length is only one factor. Official descriptions also call out delivery timing, costs, traffic, noise, pollution, wait times, cargo priorities, and population satisfaction. Diagnose the signal before expanding.
- Nothing is delivered: Confirm there is demand, the cargo is correct, and each transfer reaches the destination.
- Cargo queues at an industry: Check loading capacity before scaling the route. The developer notes that basic integrated docks are inexpensive but can queue as volume grows.
- People or goods are not moving: Review stops and connections against the intended origin and destination; inspect the game’s information displays.
- The network is busy but money is tight: Compare deliveries with vehicle and infrastructure costs. More service is not automatically profitable.
- A town becomes harder to serve: Recheck its changing needs and the effects of growth on traffic, noise, pollution, maintenance, and satisfaction.
These checks are diagnostic, not numerical. Settings, era, map, demand, and updates can change the right answer; use the values in your save.
Understand Tycoon mode
Learn how service quality, demand, operating costs, and economic choices shape a company.
Read guide →Freight basics: follow the chain, not just the factory
Transport Fever 3 gives you more direct control over where cargo goes. The official developer blog says cargo waits at its origin until collected instead of receiving a destination automatically. Your route must therefore cover the handoffs to the destination.
Before committing to a longer chain, check what the destination requests, which inputs production needs, and whether vehicles and loading points handle that cargo. Larger-town demands can involve multiple stages. Add storage or specialized facilities only when you can identify the problem they solve.
The illustration above shows how several inputs can feed later production. Treat the demand and cargo information in your current game as authoritative.
Expand without losing control
Once a service works, expand toward a specific need: more capacity, a missing connection, faster loading, or new town demand. Change one major element at a time so you can see its effect and cost.
Upgrade a vehicle only when it addresses a limitation in capacity, loading, route fit, or cost. Loans and contracts involve risk and reward, so understand their obligations before using them to cover an unclear route.

Compare Transport Fever 3 map sizes
Review map options and their planning trade-offs before committing to a larger network.
Read guide →For more topics, visit the Guides index to browse the current guide collection.
New-player checklist
Before expanding, answer:
- What specific passenger trip or cargo demand is this service meant to solve?
- Can you trace the complete route from origin to the intended destination?
- Does each vehicle support the passengers or cargo assigned to it?
- Are deliveries happening, and where do queues or delays appear?
- Do the service’s costs make sense for what it is delivering?
- What single change would address the clearest current bottleneck?
If you cannot answer one, inspect that system first. The goal is to understand demand, delivery, capacity, and cost in your save.